


Ideas for Decorating Plastic Pails
August 16, 2012 at 10:38 AM
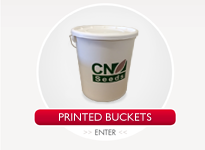
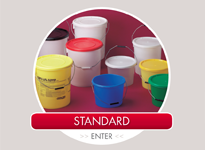
H&O plastics supply plastic pails in a wide range of sizes and colours, including company colours. But sometimes, particularly in a home environment, you may want to take this a step further and decorate them.
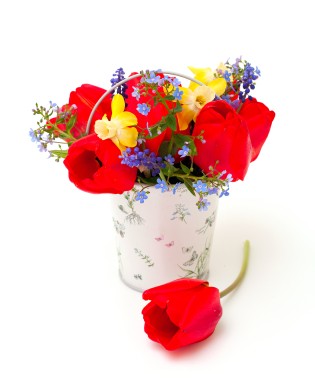
Why on earth would I want to do this, you may ask? Well, some people like to use pails to put birthday or Christmas presents in, or even party food (make sure you use a food grade pail if the food is unwrapped). Decorating a plastic pail transforms it from something functional to something fun that complements the other party decor you may have put up. If you create something really nice, it can be reused later. For instance, decorate a pail to put baby shower gifts in and then use it in the nursery as a nappy bin.
So here's a 5 step guide on how to decorate your plastic buckets or pails:
1. Firstly, decide on a theme for your plastic pail. If it's being decorated a specific occasion, come up with a theme that matches it. If it's for a birthday or Christmas, wrap a bow around the plastic pail or put tinsel around it. If it's not an occasion, then design something that complements your home or office, ensuring the colours work with your environment.
2. Once you've planned the design, sketch it out in detail, showing any patterns on the pail eg triangles or polka dots. Just sketching your design helps you finalise everything and evaluate what, if any, materials you'll need to buy.
3. Time for the actual decoration. Start on the outside of the plastic pail. Remember to start with the base layer eg if you plan to cover the pail with silver stars and then add a ribbon, begin with the stars. Rather than buy stars to stick on, you could use a silver or glittery pen to draw the stars round the outside of the bucket. Leave it to dry totally before you stick the ribbon on. An alternative to a sliver pen is to use a permanent marker. These write on plastic easily and come in a range of colours. Just remember - they are permanent!
4. Now you can move on to the inside of the plastic pail. For a touch of whimsy. A nice touch for a birthday is to write a message in marker pen on the inside bottom of the pail. As an alternative, you could write it just below the rim. As well as a message, you can repeat the design on the inside too. If the plastic pail has a handle, you could add a bow to it or gift tag.
5. Finally, the finishing touch is to decorate the pail's rim. The reason it's done at the end is because it can be tricky and it's easy to ruin if touched while decorating the outside of the pail. Mark a line of hot glue around the pail's edge and insert decorative things into the line of glue. Try and pick stuff that complement the overall design theme and purpose of the bucket. For instance, if the pail will be used for holding trowels and other gardening stuff, decorate the rim with fake flowers and other garden related motifs.
Add Pingback
RL Plastics Ltd | Britannia House | Dock Road | Birkenhead | CH41 1DF
T: 0151 639 0002 | F: 0151 639 0006 | E: [email protected]